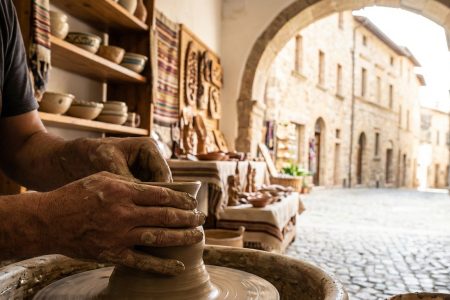
When a Moroccan potter shapes clay using techniques passed down for twelve generations, she’s not just making a bowl. She’s encoding her community’s relationship with water, hospitality, and the deser…
Discover destinations that ignite your curiosity
When a Moroccan potter shapes clay using techniques passed down for twelve generations, she’s not just making a bowl. She’s encoding her community’s relationship with water, hospitality, and the deser…
Most travelers line up for the Mona Lisa while entire floors of extraordinary art sit empty three galleries away. The world’s museums hold millions of objects, but only a fraction ever makes it into t…

Standing in a centuries-old kitchen in Bologna, my hands covered in flour and egg yolk, I realized something profound. The grandmother teaching me to roll sfoglia wasn’t just showing me how to make pa…
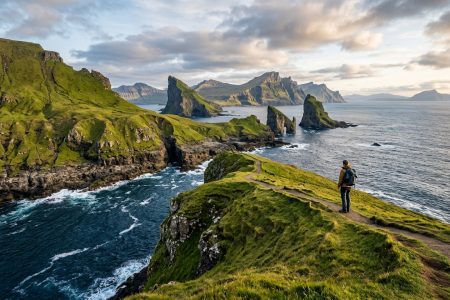
The Faroe Islands rise from the North Atlantic like a secret kept between Iceland and Norway. Eighteen volcanic islands connected by tunnels, ferries, and causeways form an autonomous territory of Den…
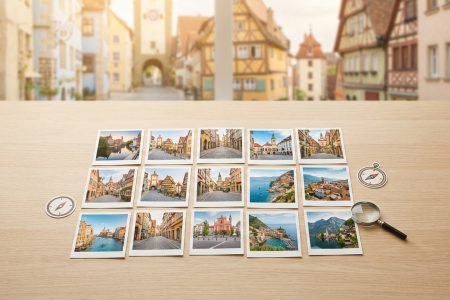
Paris and Rome are magnificent, but they’re also exhausting. The crowds, the prices, the selfie sticks blocking every monument. You’ve seen the photos a thousand times. What if your next European trip…
You’ve booked your dream trek in Nepal, signed up for ice climbing in Norway, or planned a month of scuba diving across Southeast Asia. Now comes the part most adventurers skip until it’s too late: fi…
The aroma of grilled satay wafts through a bustling Bangkok night market. Steam rises from a vendor’s wok in Mexico City. A grandmother in Marrakech folds fresh msemen on a hot griddle. These moments …
You arrive at a village festival in rural Japan, camera in hand, ready to capture the moment. But as you raise your lens toward a sacred procession, you notice the locals aren’t photographing at all. …
Standing at the edge of a narrow sandstone crack, you clip into your rope and lean back over a 60-foot drop into a sculpted corridor so narrow you can touch both walls at once. This is canyoneering in…
The best beaches I’ve visited weren’t on TripAdvisor. They weren’t in guidebooks. And they definitely weren’t crowded with selfie sticks and beach umbrellas lined up like parking spots. These strips o…